
Blockbench tutorial
Making a Piranha Plant in Blockbench
From a simple blockout to handpainted textures and a moving character. Follow my workflow using Blockbench and Creator Glove.

Playing the video connects to YouTube. Audio is in English.
Watch on YouTubeMember download
Get the Piranha Plant model
The editable Blockbench project, with its texture and animations.
.bbmodel · 1.3 MB
Unlock once for 1 credit. Download again at no extra cost.
- Iron Glove
- 2 credits / month
- Golden Glove
- 4 credits / month
- Creator Glove
- 6 credits / month
Unused credits roll over: save up to 6 on Iron, 12 on Golden or 18 on Creator.
For the first tutorial, I'm making a Piranha Plant from Mario. The curved stem, chunky mouth and curled tongue make it a good exercise in keeping a recognizable character blocky. This is a walkthrough of how I work, with the main explanations left in and the longer painting sections sped up.
Get the silhouette right first
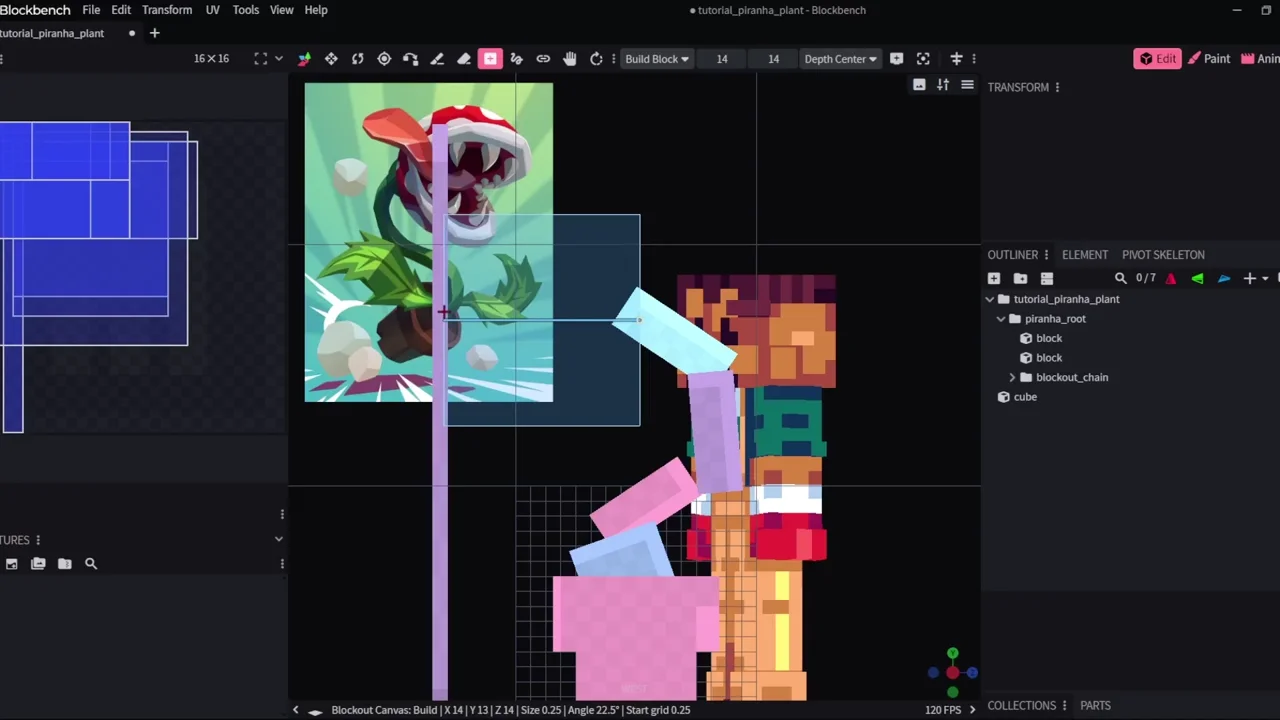
I start with the scale and the pot, then work upwards. Blockout Canvas's Chain tool helps build the stem and tongue, while Build Block gives me a starting point for the head. I adjust the taper, spacing and proportions as I go. The aim isn't a perfectly smooth copy of the reference: it's a shape that reads well in blocks.
Big color shapes, then small details
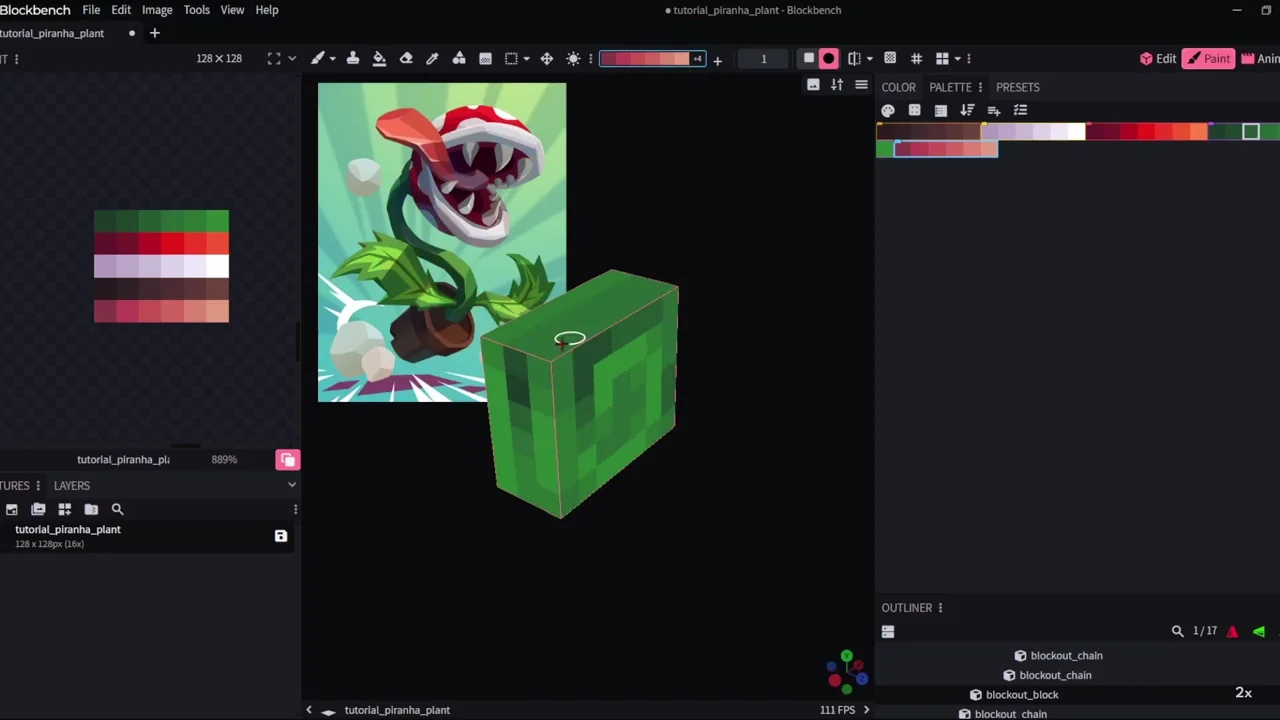
Once the forms work, I lay down flat colors and build a palette for each material. In Handpainted Workflow, I use Block Light & Shade for the broad lighting, then paint with the Shade Brush. The mouth, tongue, leaves and pot each get their own texture pass. Light and dark shapes do the work before the final teeth and details go in.
Give it a little movement
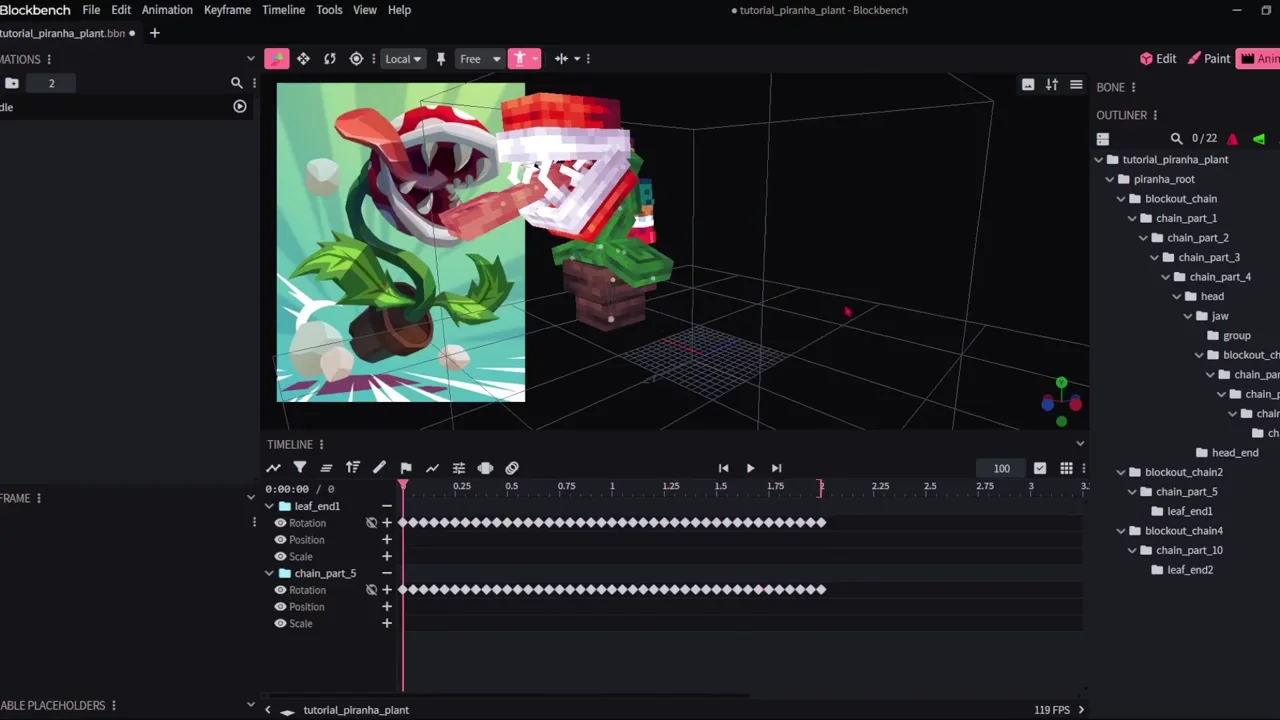
In Motion Lab, I set up the pivot skeleton and endpoints, separate the head and jaw controls, and add movement to the tongue and leaves with physics. I finish by adjusting the timing and baking the physics into editable keyframes. The final pass shows Form Gradient and ambient occlusion, including a before-and-after so you can judge how much the model needs.
Show me what you make
Following along, or trying the workflow on your own character? Share your result and questions in the RuneFist Discord.
Join the communityThis fan-made tutorial is not affiliated with or endorsed by Nintendo. Piranha Plant and Mario belong to Nintendo.