
Install
One file. Four steps.
- 01
Download
Open Account, then Member releases.
- 02
Load
Plugins > Load Plugin from File.
- 03
Activate
Tools > Manage Creator Glove License.
- 04
Enable
Tools > Manage Creator Glove Tools.
First launch
Finish one guided model.
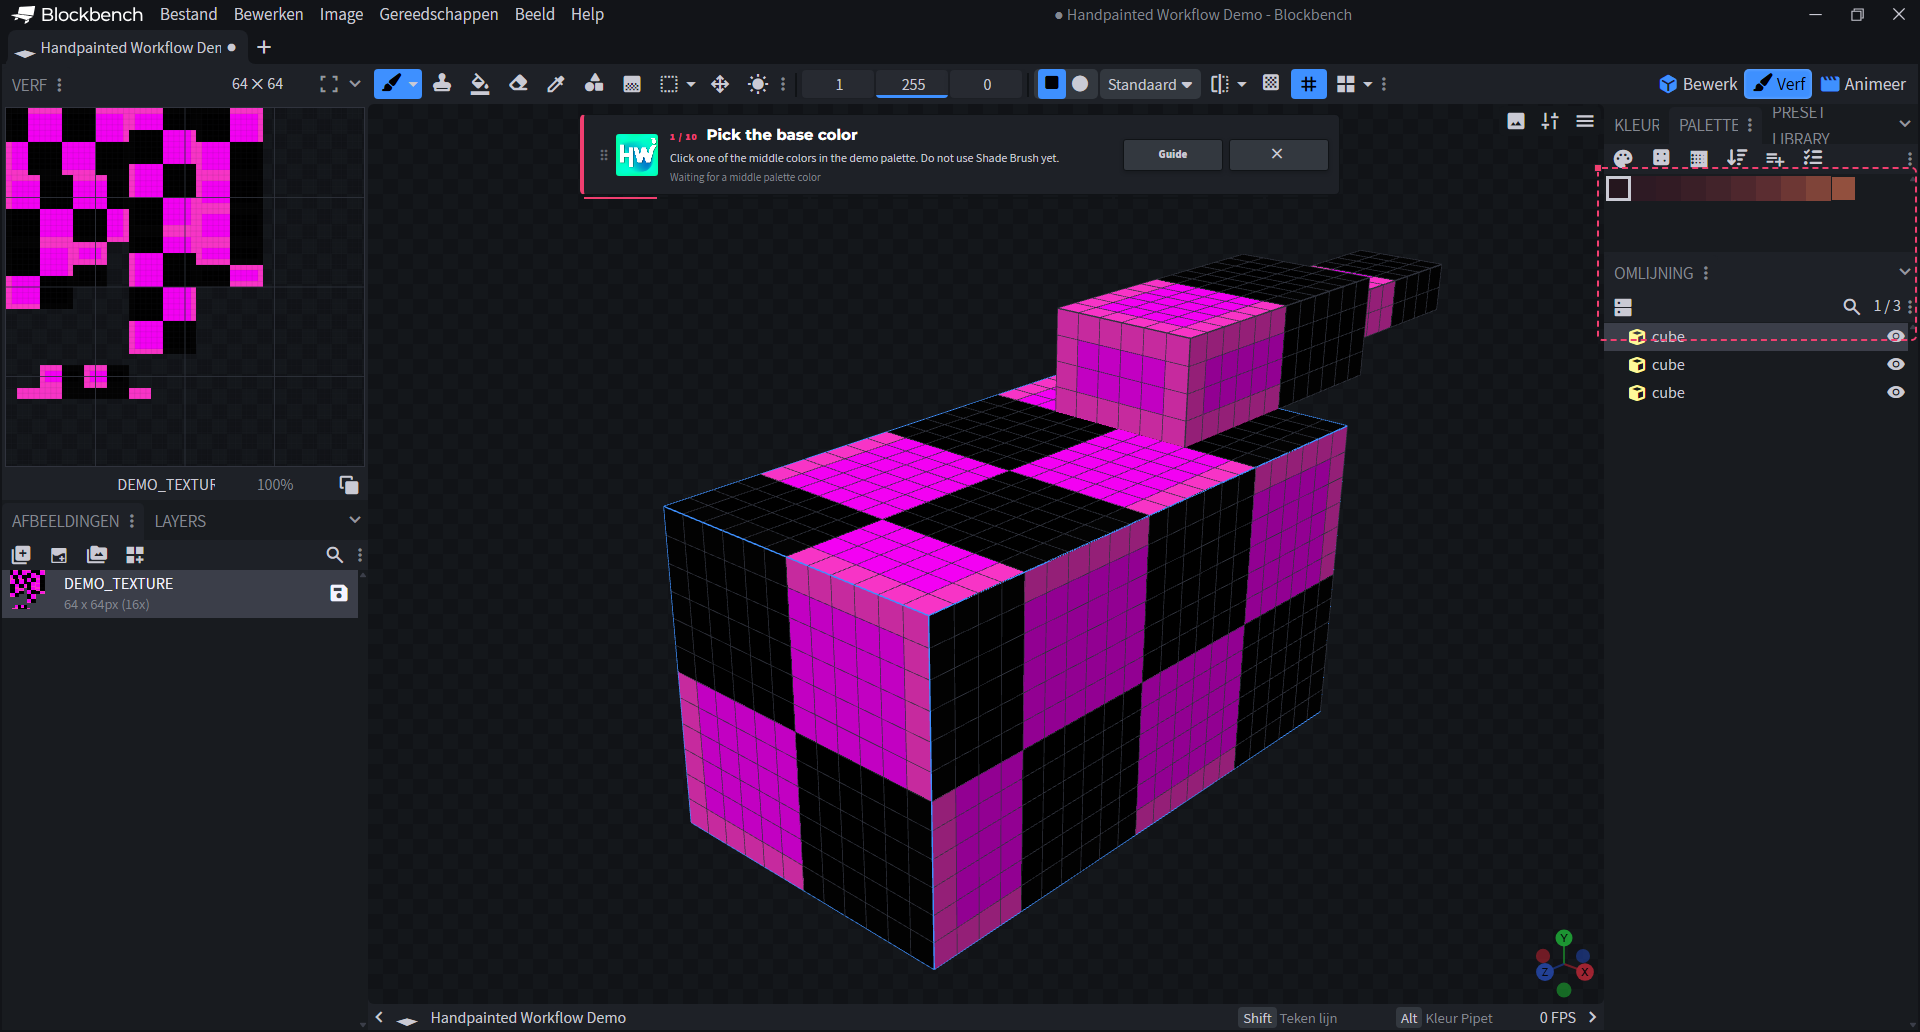
Demo palette
- 1
Base color
Pick a middle swatch. Set Fill to Element, then fill all three blocks.
- 2
Shade and light
Drag a Shade Brush range, then place and apply Block Light & Shade.
- 3
Surface and paint
Apply Short Fur, then try a few Shade Brush strokes.
- 4
Gradient and AO
Move both gradient points, bake AO, then duplicate the AO layer.
Each instruction advances after the real action. Replay it later from Tools > Replay Handpainted Workflow Guide.
The Demo Palette belongs to the demo tab. Your previous palette returns when you switch back to your own project.
Surface and edge presets
Pick a material. Drop it on the model.
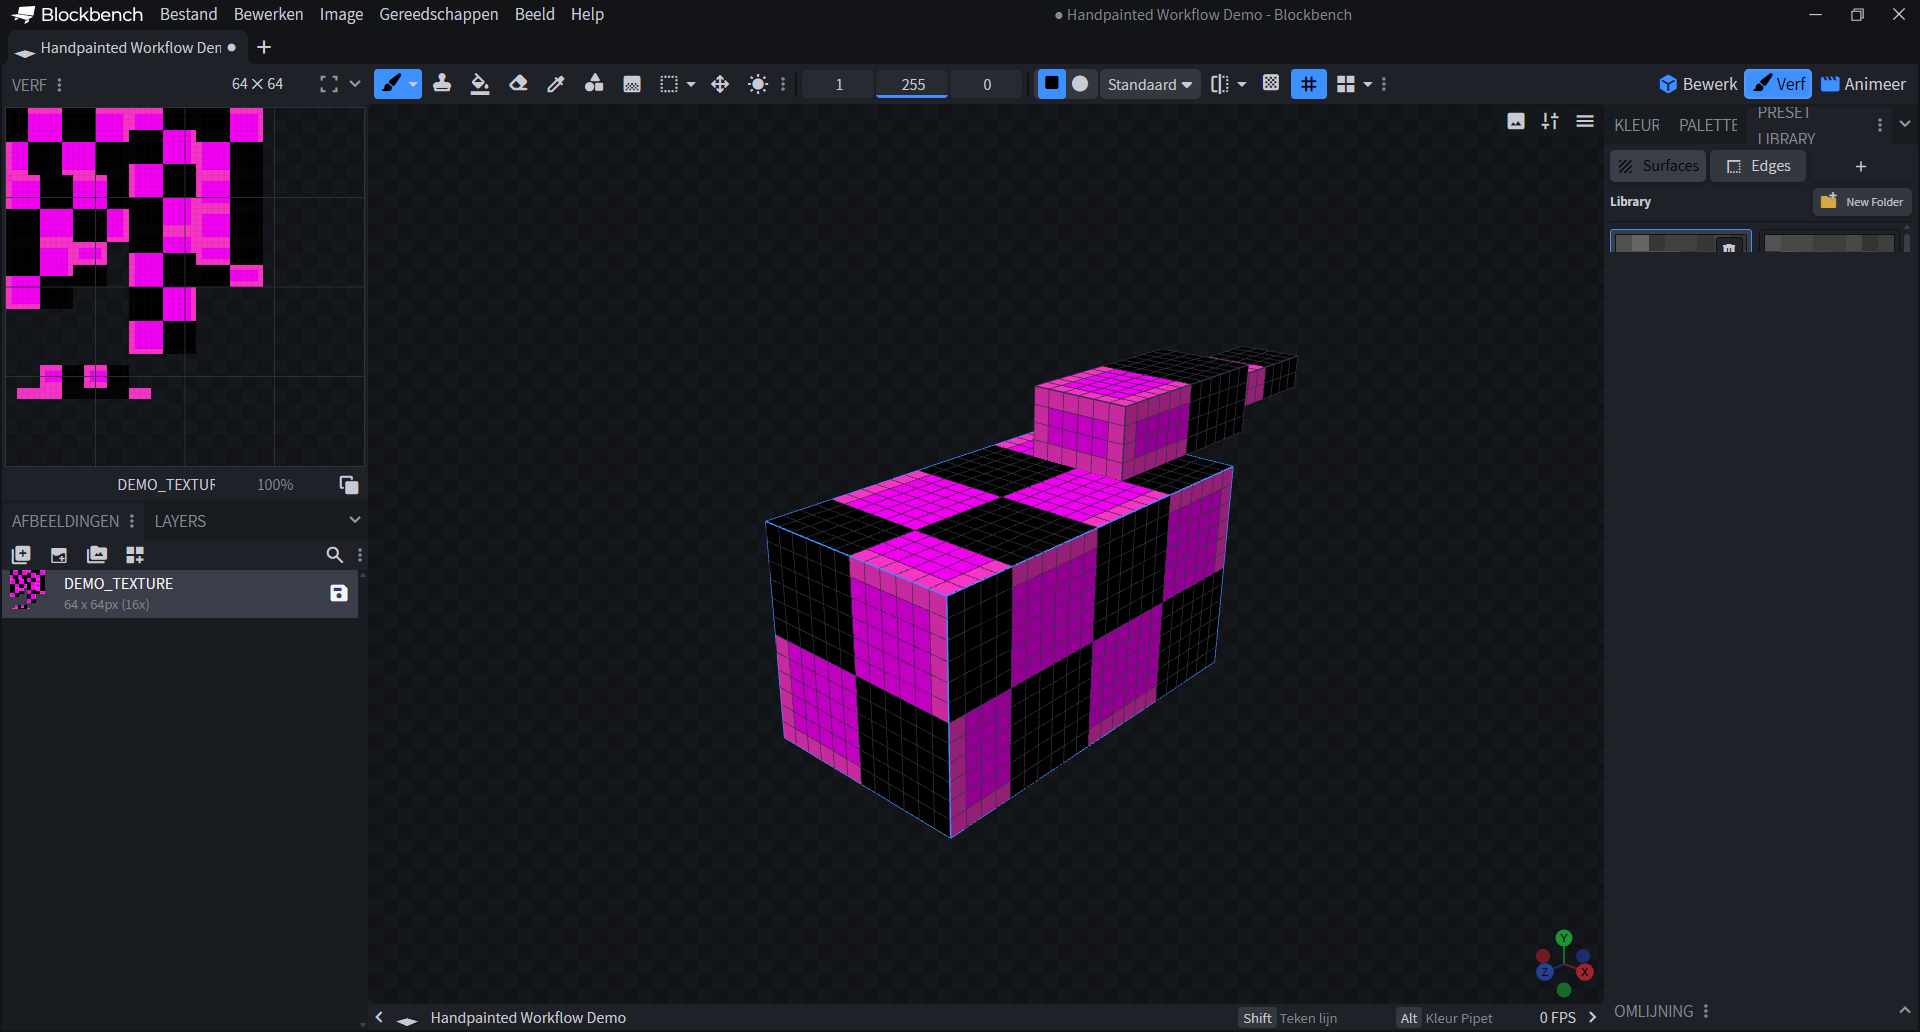
Preset Library
Short Fur is included
Short Fur, Fish Scale, Wood, and Texture are ready for the first pass.
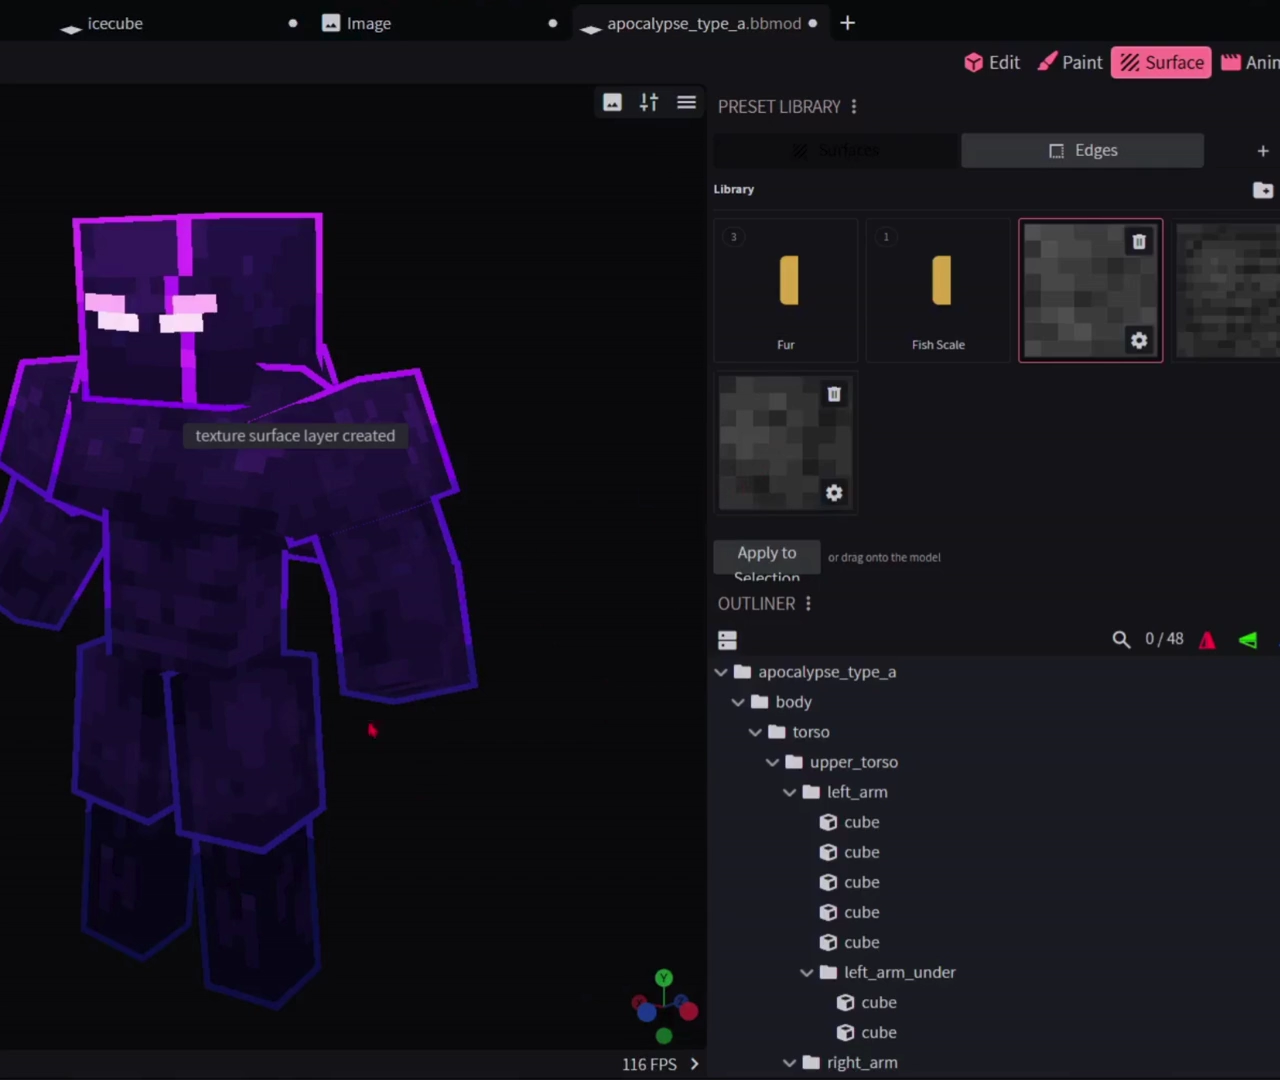
Apply
Drag the card onto a face
Select first for a full selection. Hold Shift while dropping to target one face.
Shade and light
Shape the colors you chose.
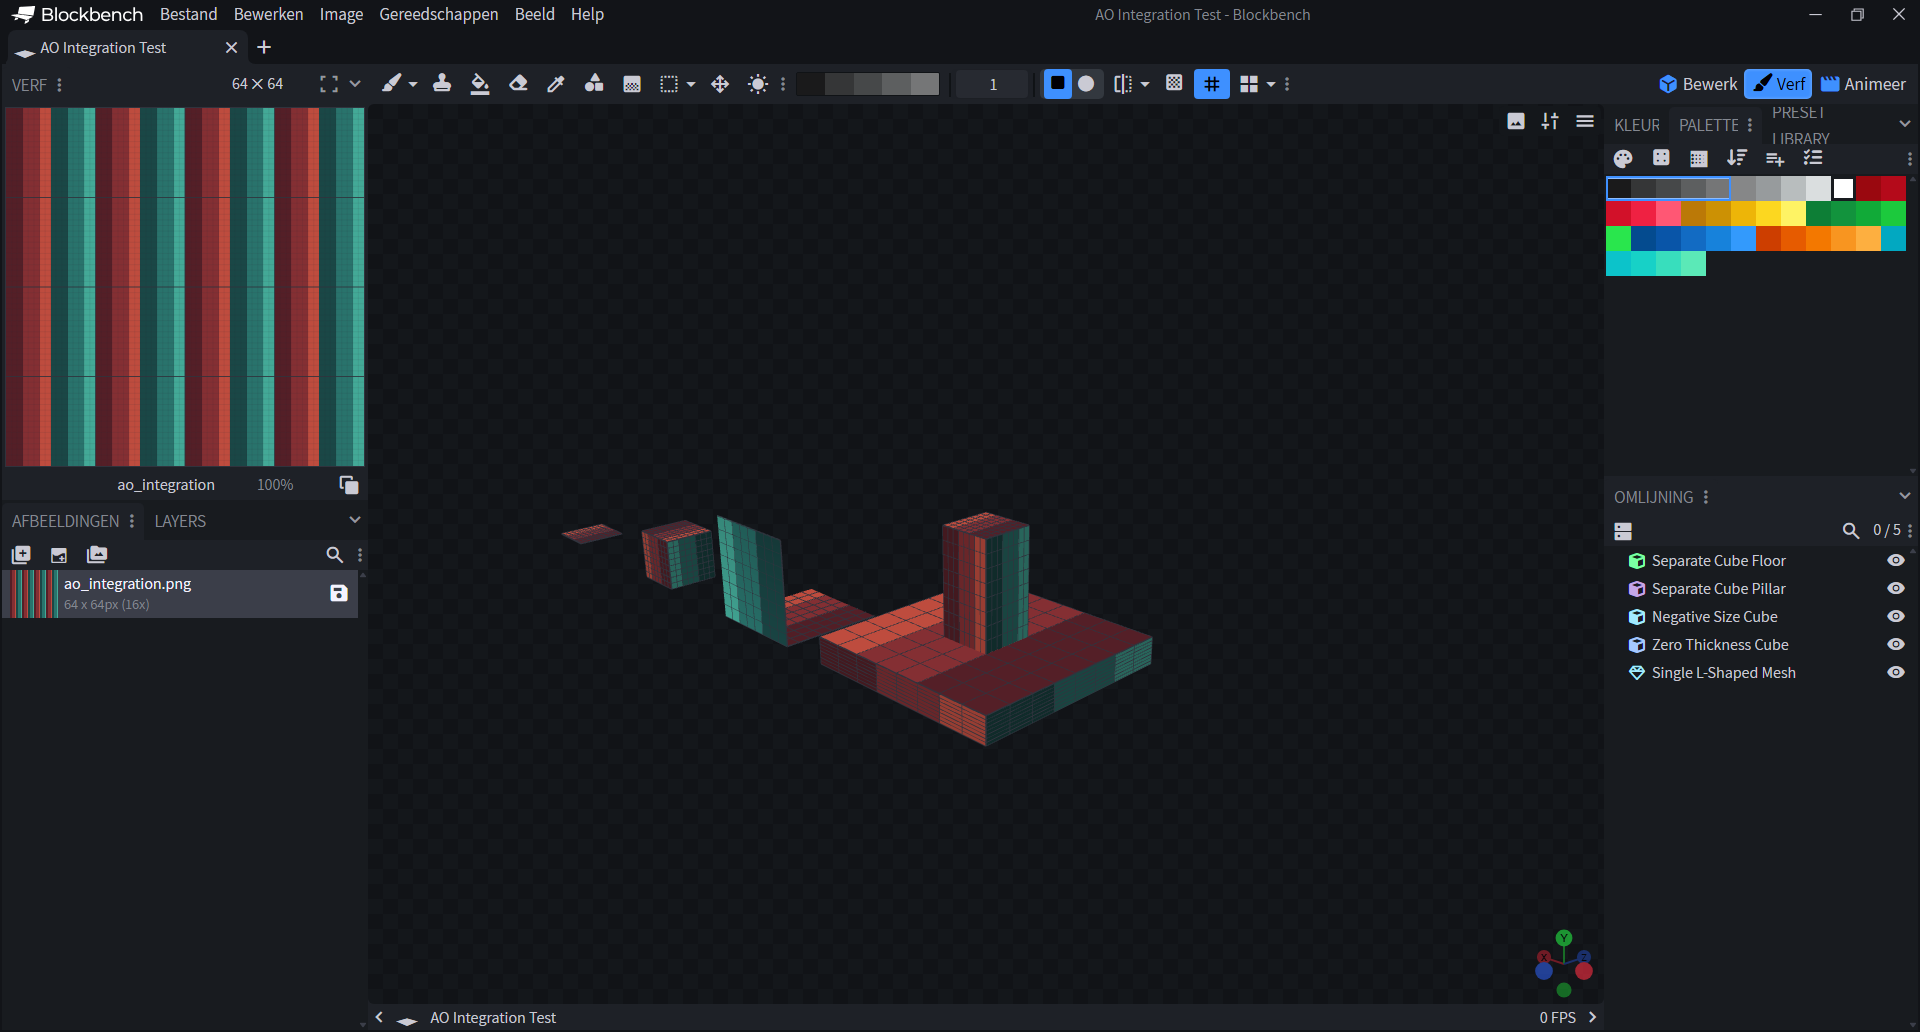
Shade Brush
Drag across the palette
Left paint steps darker. Right paint steps lighter.
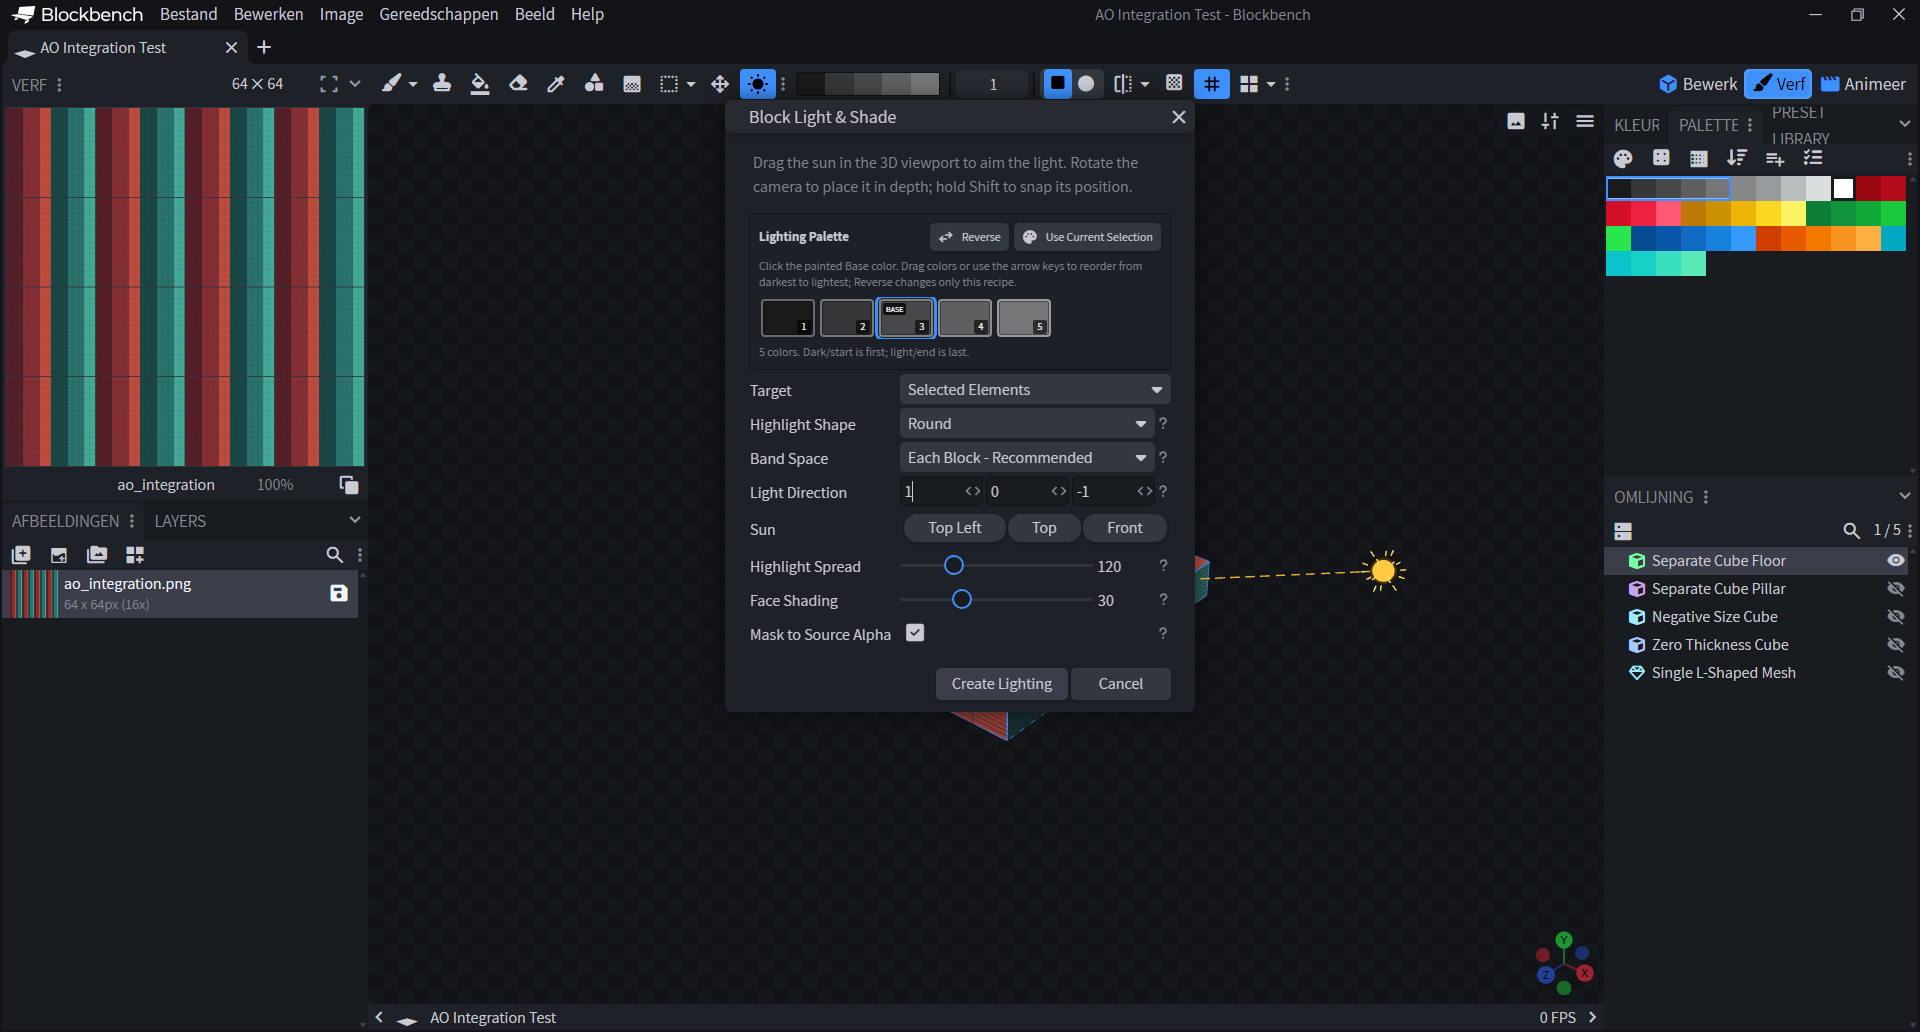
Block Light and Shade
Place the light
Choose the painted base swatch, place the sun, then generate.
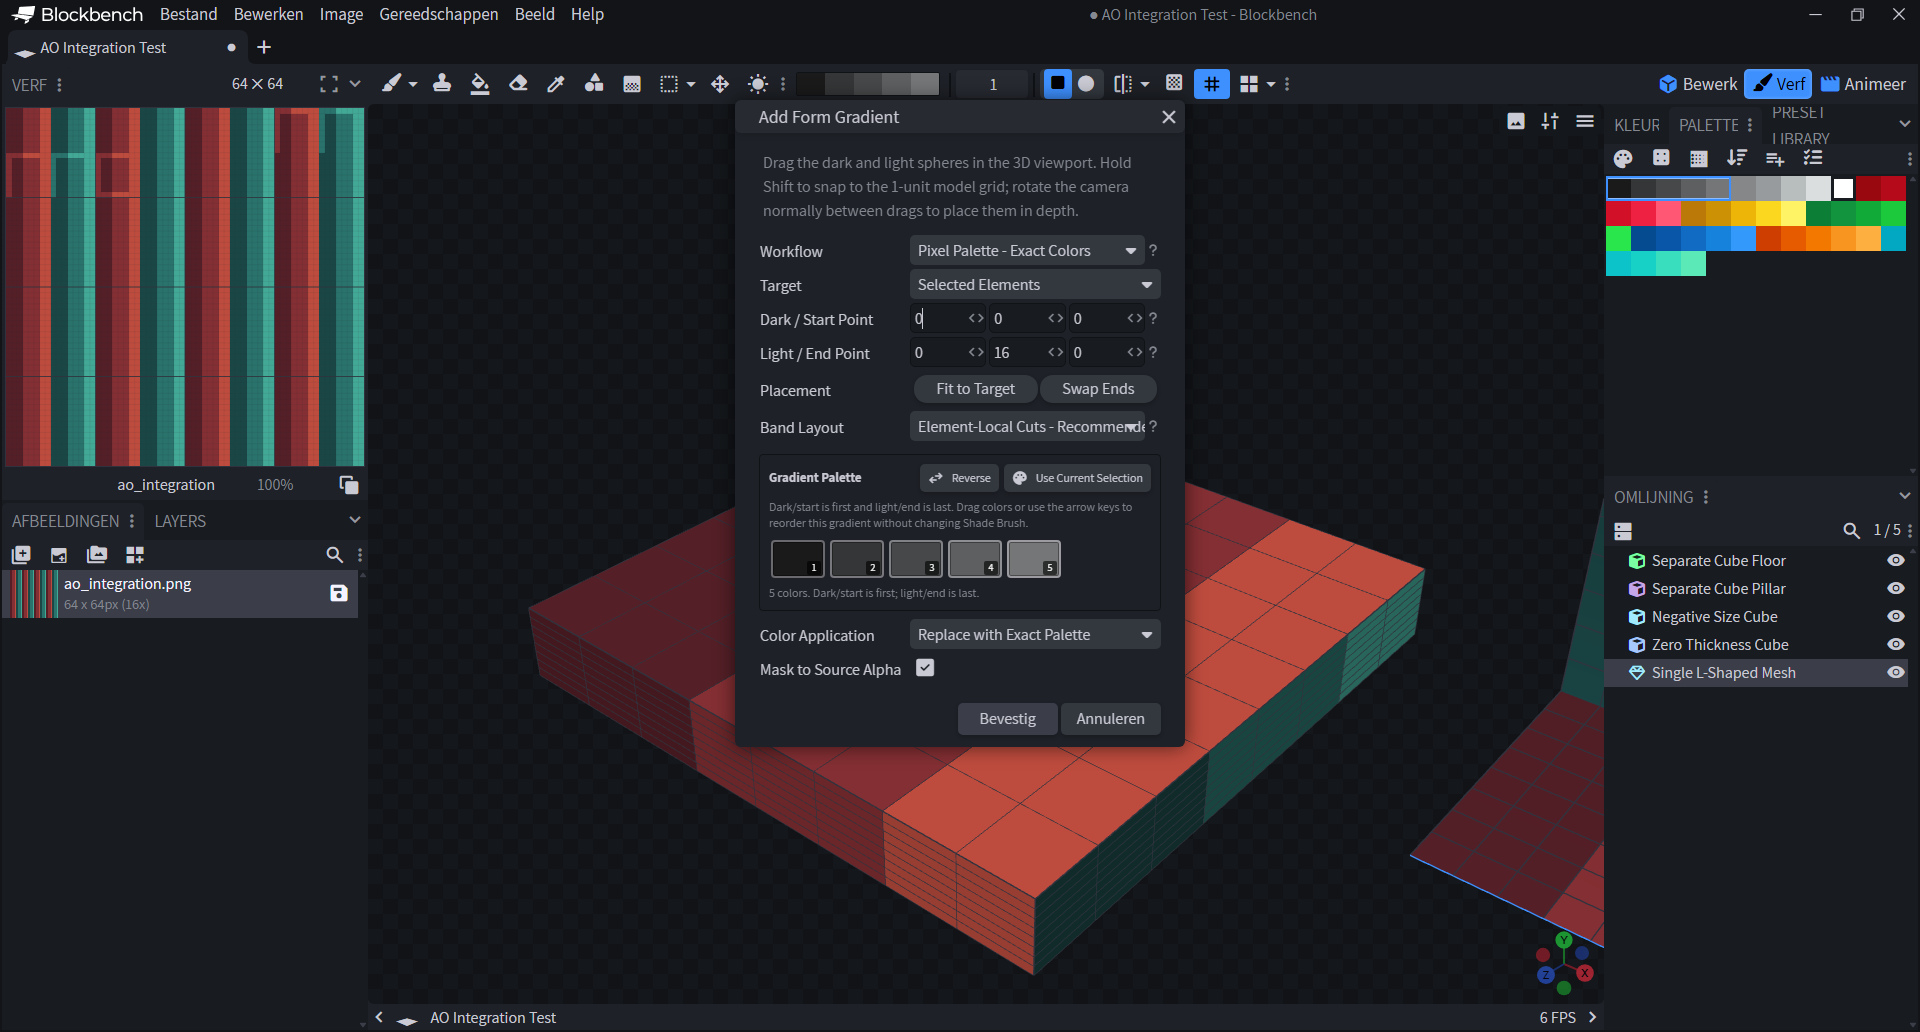
Form Gradient
Place dark and light
Select 2 to 8 palette colors, then place both viewport points.
Ambient occlusion
The button is under Image.
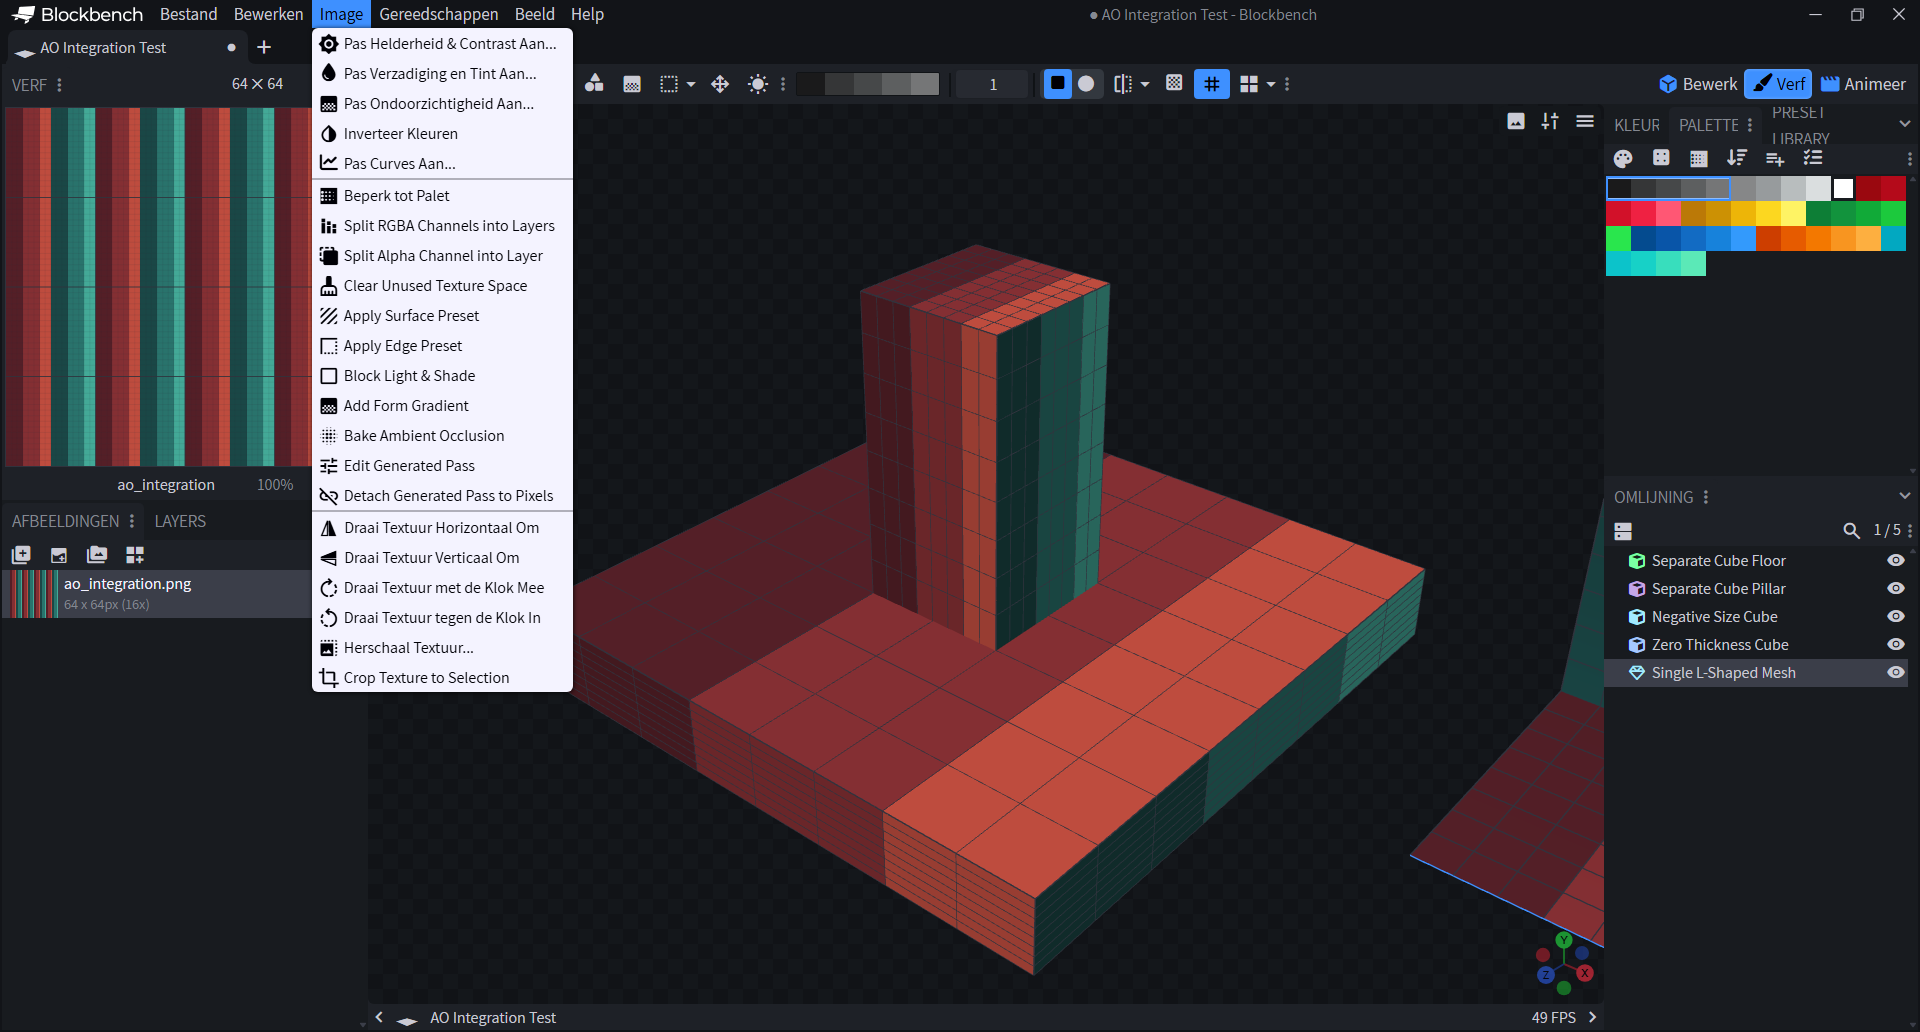
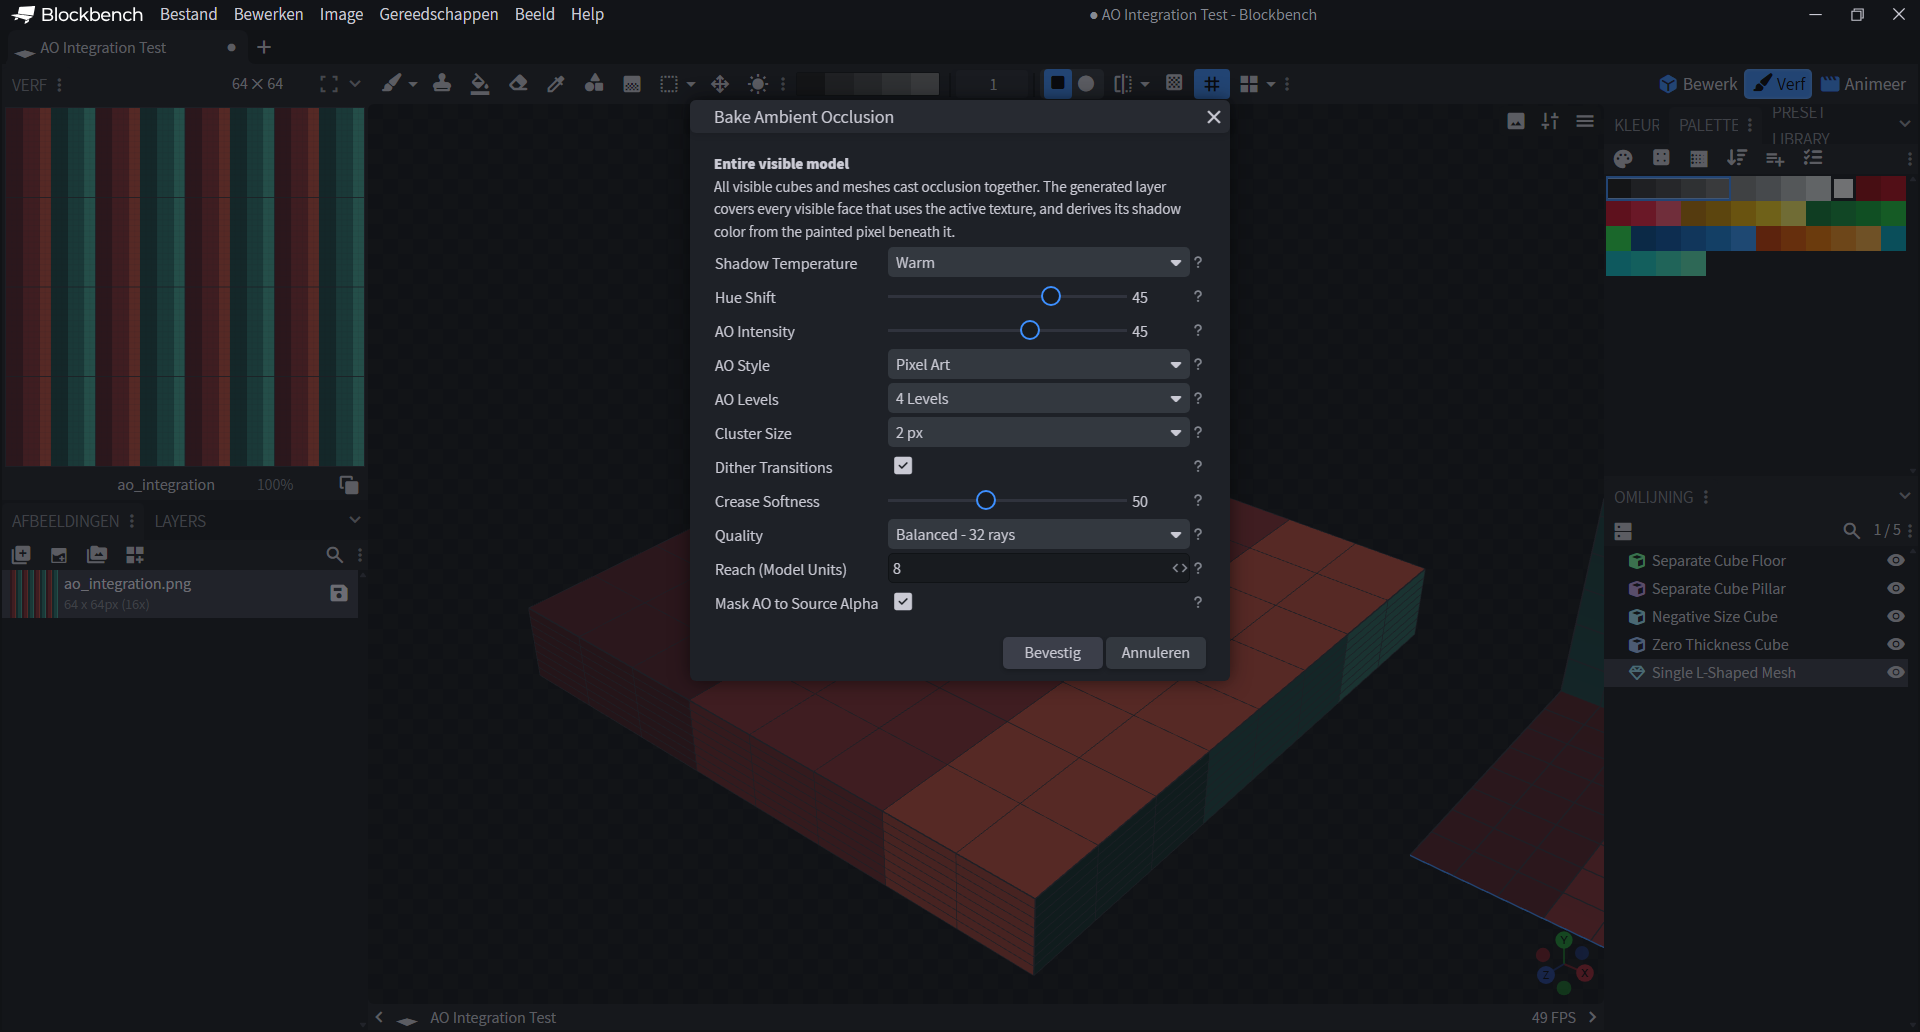
Correct path
Image > Bake Ambient Occlusion
Nothing starts
Select the receiving texture and use visible model geometry.
Looks blank
Raise Intensity or Reach, then check the generated layer.
Open faces stay bright
AO shades contact and enclosure, not the whole model.
Want it stronger
Duplicate the generated AO layer in Layers.
Temperature
Shadow hue
Intensity
Layer strength
Style
Smooth or pixel
Reach
Contact distance
Pixel Art
Steps and dither
Layers
DuplicateAccess and help
One account. Three devices.
3
Device slots
7 days
Maximum offline period
1 suite
Shared installation